


")
")


")


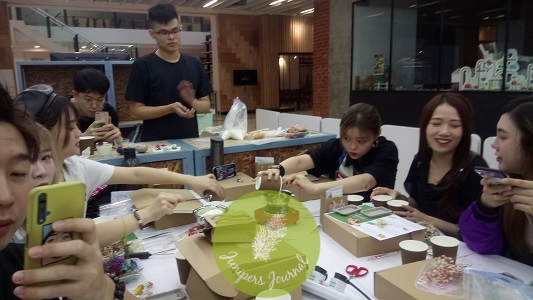
There’s something I have always wanted to do and never had an opportunity till this afternoon – attend a candle making workshop. I like the whole idea of adding essential oils to melted wax and wanted to see/try for myself how easy or difficult the whole process. So I joined 15 other enthusiastic participants at 悠 YOÜ At The School Jaya One for the Enchanti Naturals Aromatherapy Floral Candle Workshop presented by Aaron. There were mainly female participants with about five/six guys. Some came on their own like me, others came with their partners or in a group. I was the last to arrive just as they were about to begin at 2pm.
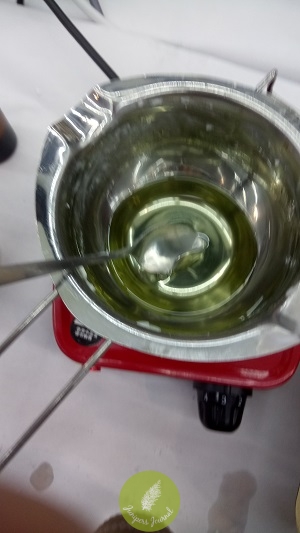
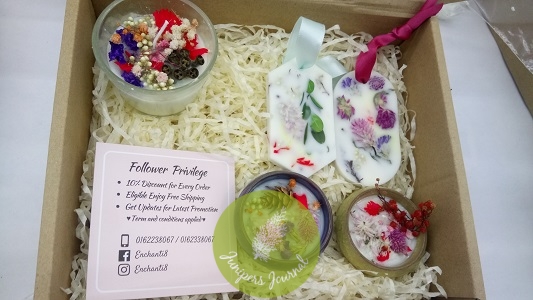
We were making perfume wax sachets (you can hang them in the cupboard) and aromatherapy floral candles. Firstly Aaron explained there were 2 types of wax – soy wax and bee wax (harder so not suitable for making candles as they’d be difficult to burn). We’d use equal portions of soy and bee wax for the perfume wax sachets. First step was to melt the combined waxes on the mini stove (so cute).
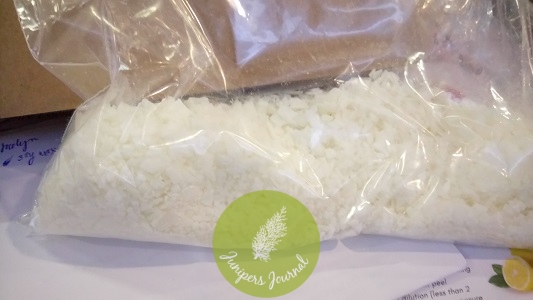
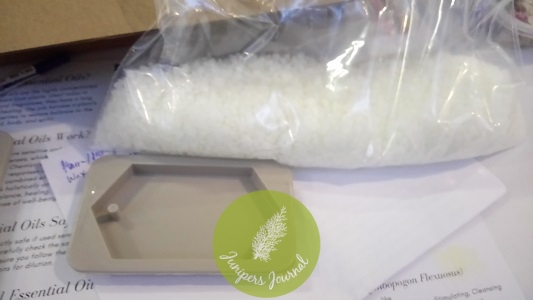
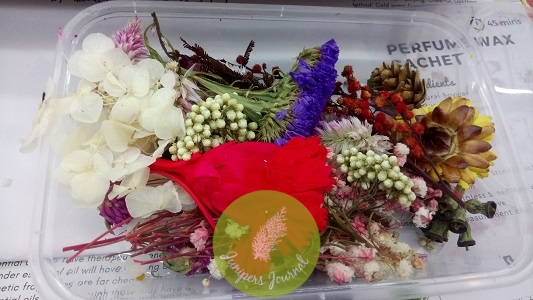
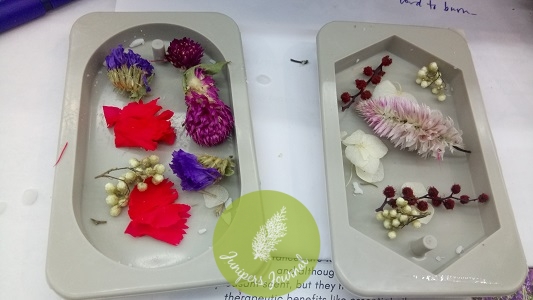
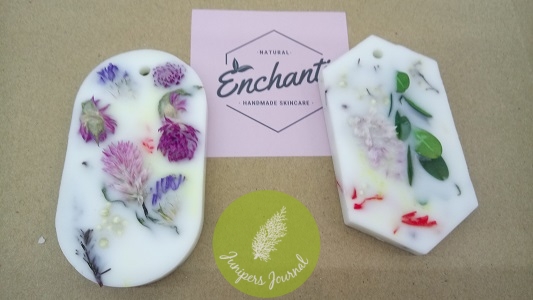
Both types of wax can be differentiated by feeling them. Before melting the wax, we decorated the silicone molds with dried flowers, so pretty. An alternative way is to pour the melted wax into the molds first and as the wax is hardening, press the dried flowers into the molds. I think I chose the easier way of placing the flowers into the molds first. Both types of wax can be differentiated by feeling them. Obviously bee wax feels harder. We had to stir the wax as they were melting. After the wax had been melted, we poured into paper cups and added a few drops of perfume fragrance oil. Then we poured the mixture into the molds to set, it would take about 10 minutes to set. Once done, we tied the creations with a ribbon.

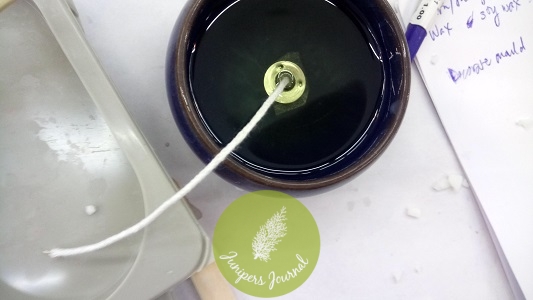
Next we made three candles with soy wax. Firstly we had to prepare the wick by fastening it to the center of the candle cup with double sided tape. I struggled with getting the double sided tape off and secure to the center of the candle cup. we also had to use a pair of chopsticks tied with rubber band on both ends to secure the wick so that it wouldn’t move.
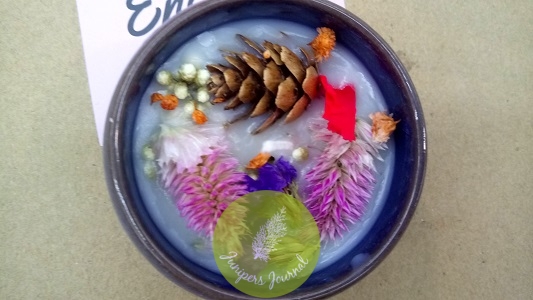
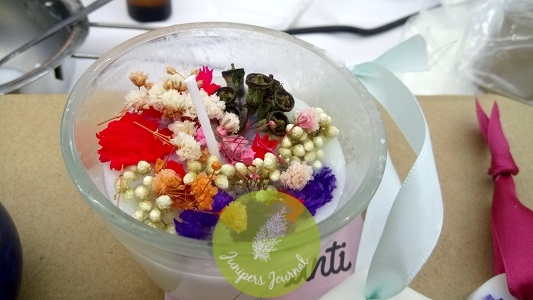
Once the wax melted, we poured it into a paper cup and waited for the temperature to reduce to 60C. Meanwhile, we added coconut oil so that the candle can burn. When the temperature reached 60C, we could add lemon and lavender essential oil to the wax. Of course one can use any other scents they like. As the wax begins to harden, it turns white and that’s when you decorate with dried flowers.
During this almost 3 hour workshop, I had a lot of fun and although I will never be talented enough to make candles to sell, at least I know have bit of knowledge on how to make wax creations. Many thanks to Enchanti Naturals and Jaya One for organising this wonderful and interesting workshop.


